
Before you begin
Select the business. The specialist needs services with prices and durations.
Check the client’s phone: a verified number can link the visit to their account. Agree the date, services and price before saving.
Step-by-step guide
Open Add appointment
Use the button in Appointments or the business card. You may also start from a calendar time with an available add action.
Set specialist and services
Choose the specialist if there are several and add services from their price list. Saving requires a service.
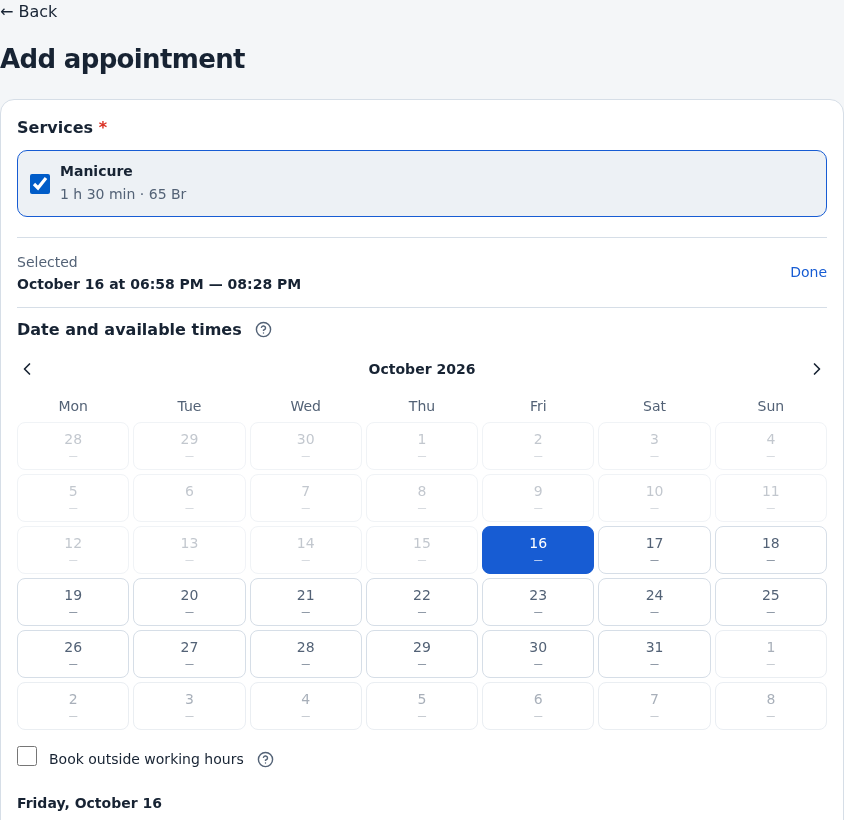
Review start and end
Choose the date and time. End time follows total service duration. Check the visit length if overriding the end manually.
Add the client
Choose a contact or fill in name and contact details. Check the right person when names match.
Review repeats and notes
Set the repeat count and interval if creating a series. Add a note if needed.
Save and check
Submit and wait for the visit card. Review the time, client, services and calendar entry.
Check the result
The visit appears in the calendar and its card opens from the workspace.
Questions and solutions
The button is disabled
Check services, specialist, name and valid times. Wait for contact details to load.
The client already exists
Select the existing contact and review the populated phone before saving.
The client cannot see it
Ask them to verify their phone through @vequrbot. Check the number in the appointment.
I need a similar visit
Use the repeat action in the card and review the new date and services.